Connect Cadulis to Speakylink
Speakylink Overview
Speakylink is a visual assistance solution for contact centers (after-sales service, order management, customer service, claims department, etc.). From a traditional phone call, whether inbound or outbound, Speakylink allows customer advisors to enhance their calls with video, co-browsing, photos, chat, and files—helping them better contextualize the customer’s issue.
Our 4 main areas of expertise
- Call center solutions
- Customer Relationship Management
- Integration with customer relationship tools
- Video channel
Visual assistance (or the video channel) brings a more human touch to interactions in an era of “all-digital” and “all-machine.” Visual assistance leverages technology to enhance human relationships.
Speakylink’s mission is to eliminate daily pain points while supporting companies’ CSR initiatives with a simple, installation-free, and secure solution.
Connect Speakylink to Cadulis
By connecting Speakylink to Cadulis, you can directly launch a visual assistance session with your customer (or your field worker) and store session media in Cadulis: photos, videos, etc.
Create a “Speakylink” Field on Your Activity
On the relevant activity type, add a speakylink field to the job form or the closing form.
Configure the Connection
Enter the URL of the speakylink instance provided by your customer service, and specify the information you want to pre-fill in the invitation: your customer’s phone number, email, etc.
In the dropdown list “Store received media in,” select the photo or file field where the media from the speakylink session will be sent in Cadulis.

Start a Speakylink Visual Assistance Session
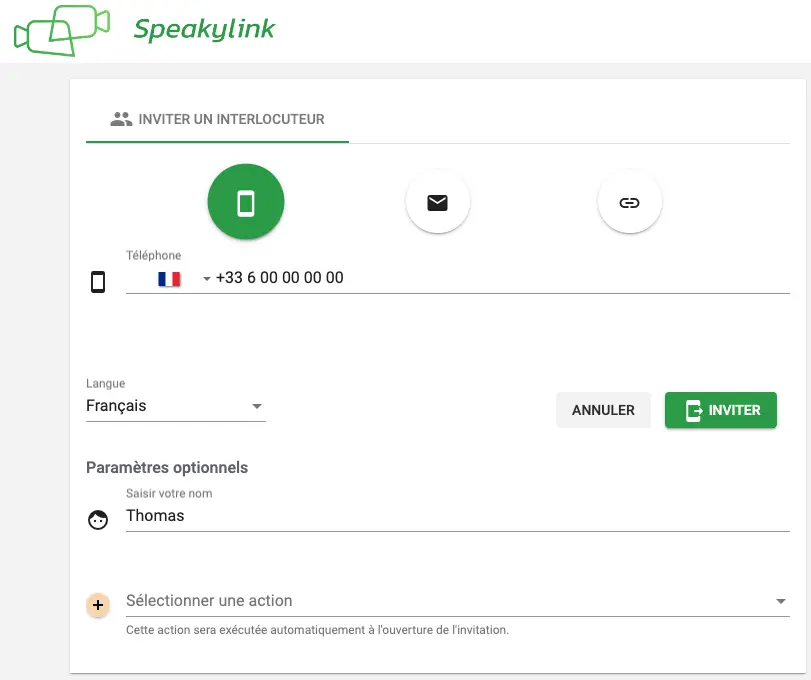
Once the field is configured, simply click the corresponding button on the job or closing record to open a Speakylink invitation page:

The information configured in the field is automatically sent to Speakylink to prevent errors.

You just need to conduct your Speakylink session. Your contact receives the connection link, and your session starts as soon as they connect.
Retrieve Files in Cadulis
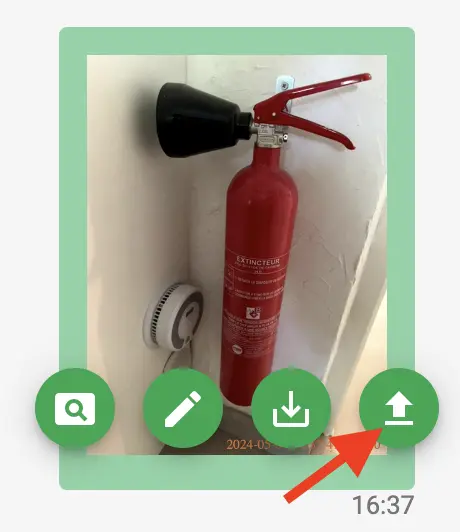
From the open Speakylink session, a single click on the media send button will send it directly to Cadulis in the selected field of the activity from which you launched the visual assistance session.
For your Speakylink session to send media to Cadulis, simply ask your Speakylink customer service to activate the Cadulis plugin on your account!
Button to click in the Speakylink session to automatically send the file to Cadulis:

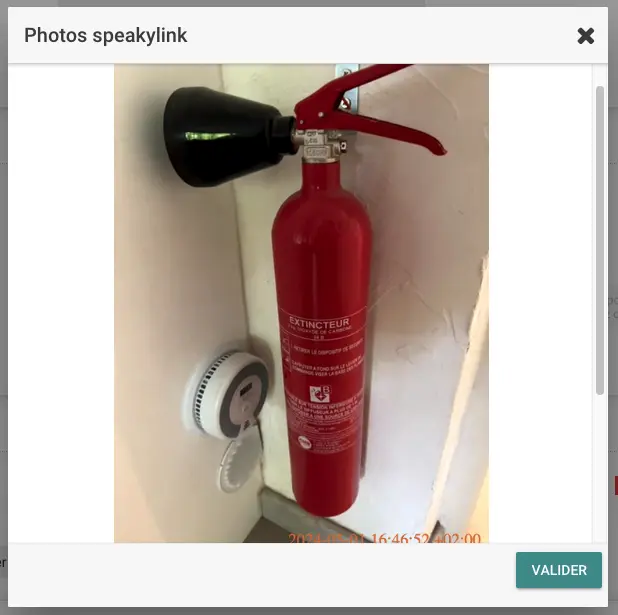
On the Cadulis activity, you will then find the files sent from Speakylink directly:


