PowerBI report sharing
You can of course send your PowerBI file. But if you want to keep control over modifications and simply allow You must have a license (about ten euros per month)
PowerBI web
Go to https://app.powerbi.com
You can create workspaces to organize your reports.
Publish the report
In PowerBI Desktop, on your report, click Publish at the top right
Your report is then sent to the Microsoft cloud.
Authorize the data source
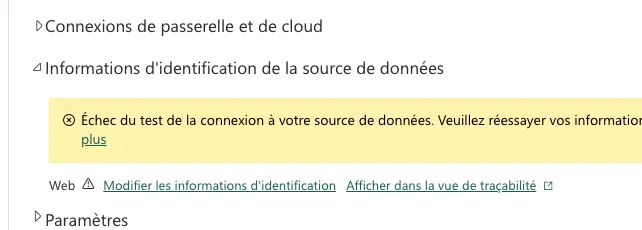
Depending on your configuration, you may need to authorize the data source as “anonymous”.
If you have downloaded the Cadulis demo file, it does indeed require this step.

In your data source settings, under “Credentials”, click on “Edit credentials” and check Skip test connection
Schedule refresh
On https://app.powerbi.com
go to Data Center and open your data source.
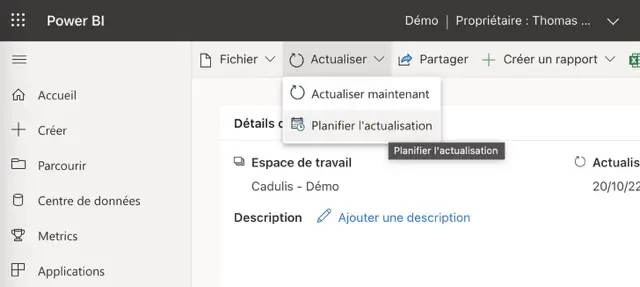
At the top, click on Refresh then schedule refresh

In the Scheduled refresh section, you can set refresh times for your data from Cadulis
View the report
On https://app.powerbi.com from the home page (or from your workspace or elsewhere) you can open your report
This is where you can share it with your colleagues, for example.

Share in Cadulis
You have configured your report in PowerBI Desktop, you have published it to the cloud?
All that’s left is to display it directly in Cadulis!
Dashboard tab in Cadulis
By default in Cadulis, the “Dashboard” tab is not displayed in the menu. The link is available at the bottom of the Activities page.
You can make it available by clicking on your name at the top left, then Edit my profile, then Miscellaneous:
check the box Link to dashboards in the menu and save
- On https://app.cadulis.com
go to
DashboardthenCreate a dashboard. - On the dashboard, add a widget of type
PowerBI Report
Configuration
To link the display in Cadulis to your dashboard published on Microsoft Cloud, you will need to connect your Microsoft account with Cadulis. Click the corresponding button.
Once the connection is made, choose the report you want to display.
You can specify a single page to display: useful if you only want to make one PowerBI report page available in Cadulis!
Display
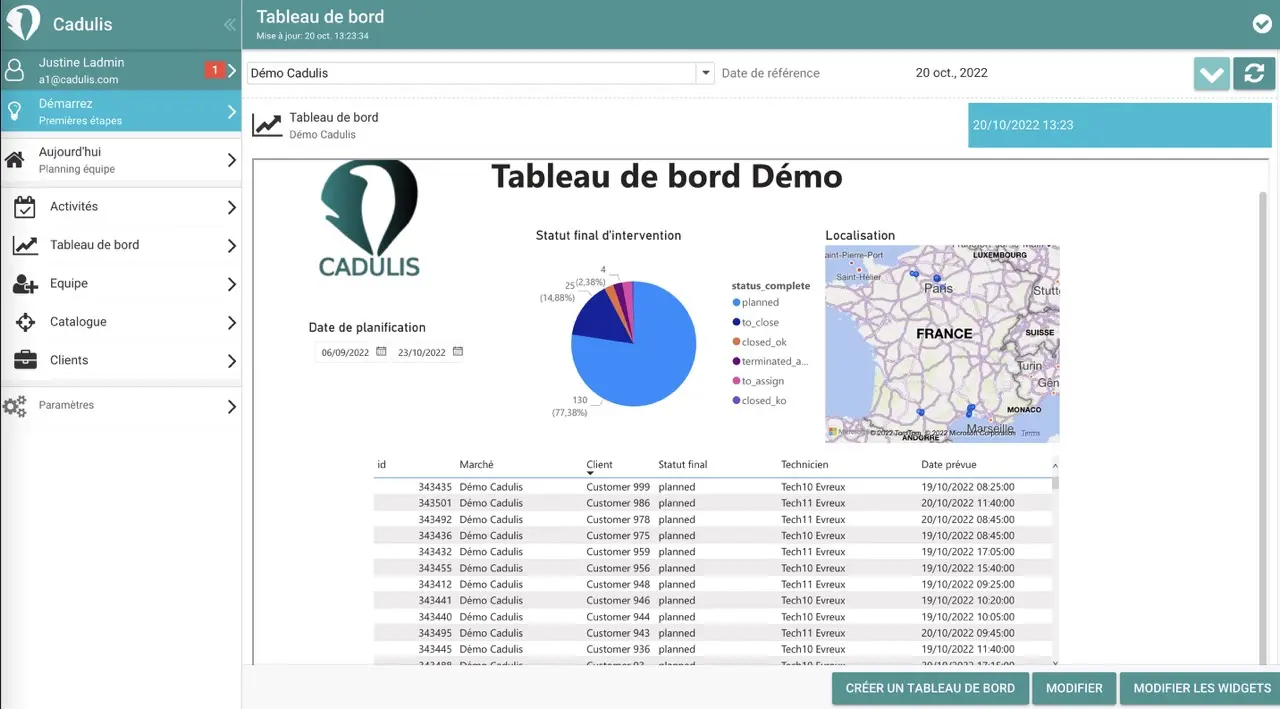
In Cadulis, by clicking on the Dashboard menu, you directly display your dashboard, loaded from the PowerBI cloud


