Customer portal: configure access for your clients
Why a Client Portal?
If your processes require you to contact your clients to fill out forms with them or schedule an appointment, this feature is made for you!
The goal: to offer your clients, through a secure and controlled portal, direct access to actions you previously performed on their behalf.
Concretely, this allows them to provide you with the information necessary for the intervention, schedule an appointment for it, or complete a satisfaction survey.
For appointment scheduling, the client portal is synchronized with your teams’ schedules in Cadulis and uses the same scheduling assistant. This assistant allows you to take travel times into account and prioritize the best time slots.
How It Works
The client must log in using the email address or phone number from your client database. It is not possible for your clients to directly create an account on the portal. Login takes place on a dedicated platform: https://client.cadulis.com , or via the dedicated app.
Many processes and configuration options are available. This requires some initial setup time but ensures optimal adaptation to your business needs.
Feel free to contact us for assistance with this setup—an investment that quickly pays off.
Configuring Your Client Portal
Activation must be carried out at several levels of your configuration to provide targeted access for certain clients and for specific activities.
Enabling Access for Your Clients
General Configuration (business unit)
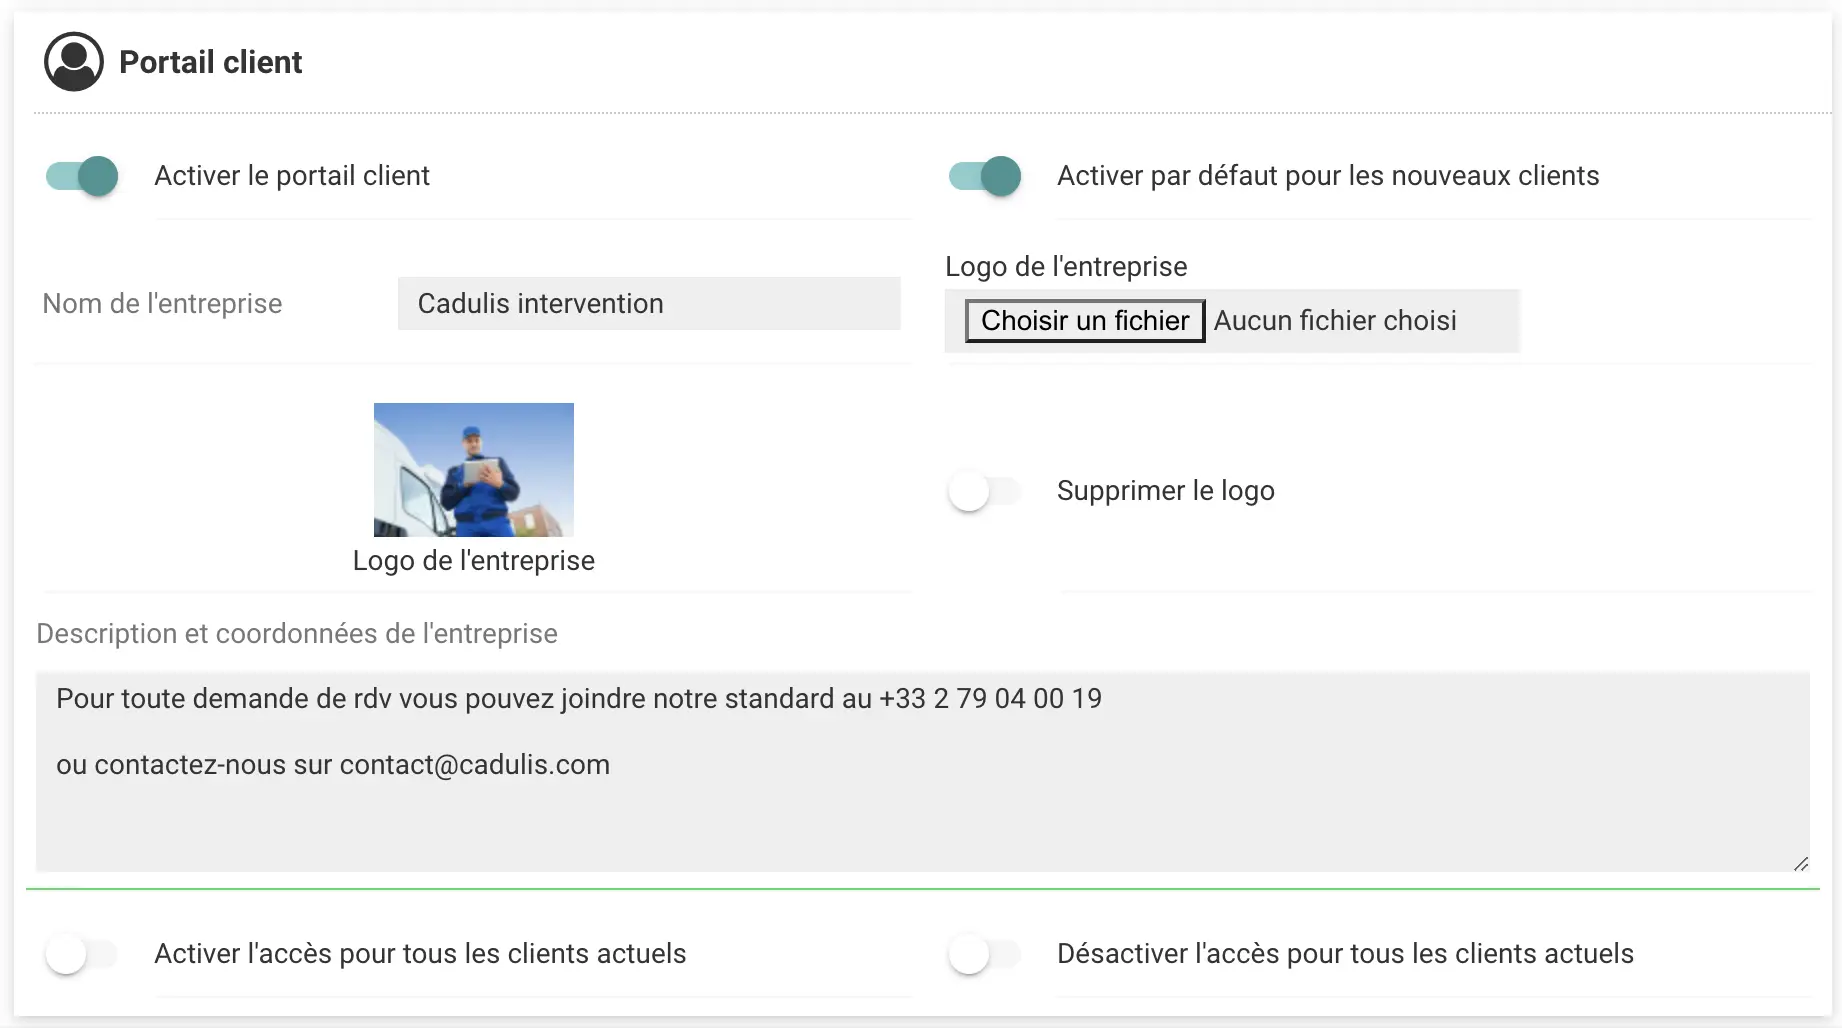
From the menu, go to “Settings” then “Business Units,” select the business unit where you want to enable the client portal. Click “Configure,” then go to the “Client Portal” section to activate it.

In this section, you can modify:
- The displayed name of your company
- Your company logo
- General information for your clients
Access for Each Client
On the previous page, you could enable access for all clients of your business unit.
But you can also (de)activate it on a case-by-case basis from the client records: open a client record and click “Edit.”
You can then check or uncheck access to the client portal.
Still on the client record, by clicking on the “Client Portal Access” link, you can view all the information visible to your client.

Displaying Activities for Your Clients
Now that your client has access to the portal, it’s time to give them access to activities!
Each activity type can be configured to display (or not) on the client portal.
In the “Catalog” menu, open the activity type you wish to display in the client portal and click “Edit.”
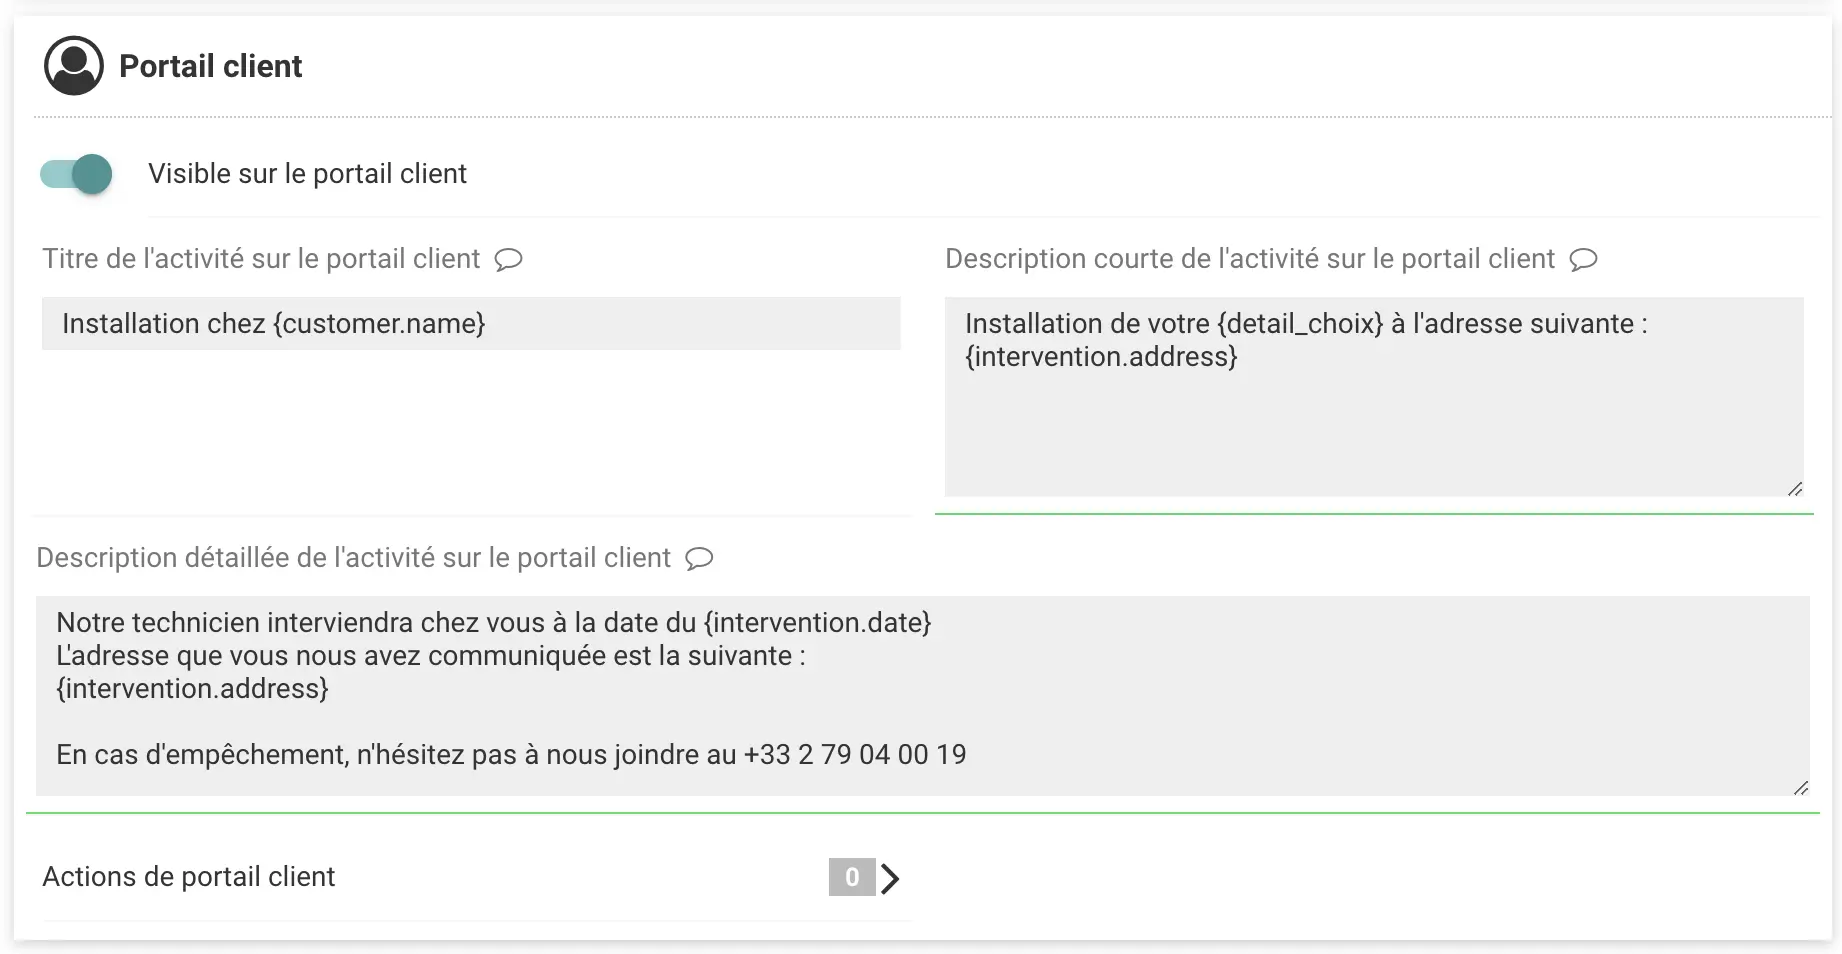
You can then enable the display of this activity type on the client portal and configure it:

- The displayed title of the activity
- The displayed description of the activity
- The long description displayed for the activity
(with the option to use the usual replacement codes)
Configuring Possible Actions for Your Clients
On the previous screen, click on “Client Portal Actions.”
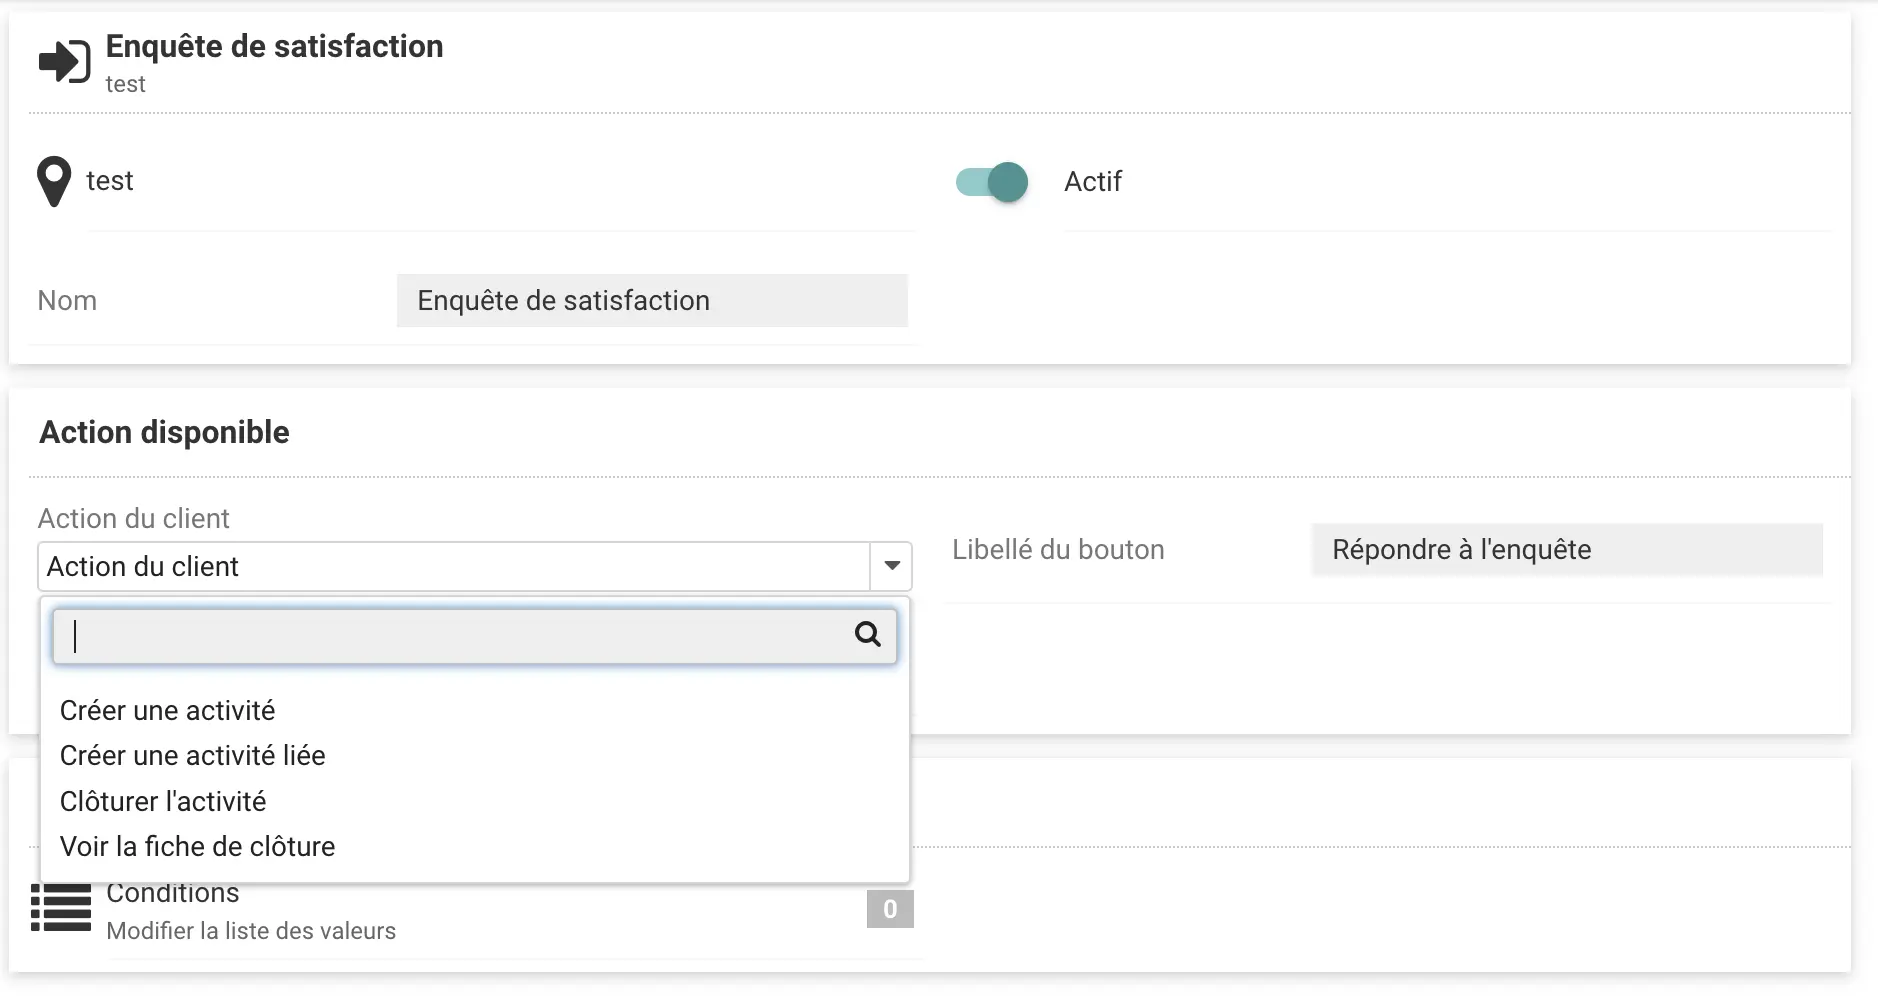
Here you can add the actions your clients will be able to perform on the selected activity.
When you add an available action, you can:
- Define an action type: create a new activity (such as scheduling a new appointment, for example).
This action will be available directly on your business unit for the client - Create a linked activity: the new activity will be linked to the current activity. For example, to create a rescheduling activity
- Close the activity: for example, if you have created a satisfaction survey
You can also add availability conditions. For example, “only when the intervention is in progress” (to prevent rescheduling an old intervention).


